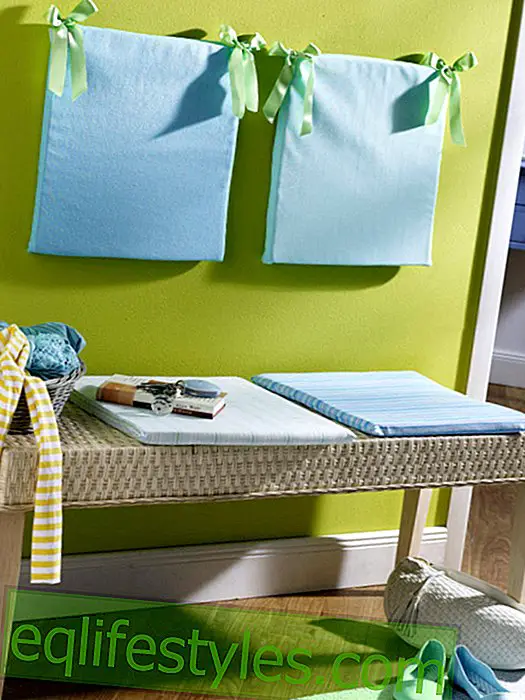


A bread basket may not be missing on the breakfast table. This one is sewn from scraps of cloth itself. The instructions are here with us.

- You need this for the bread basket
- cut out
- Iron on fleece-line
- sew
- Sew corners
- Close turn and turn opening
Made from leftovers
This pretty basket of bread could soon be on your breakfast table. Follow the instructions and sew the basket yourself.
You need this for the bread basket
- Fabrics : from stoffe.de
- approx. 50 cm outer fabric, 50 cm lining material and 50 cm fleece lined (enough for several utensils in different sizes)
- sewing machine
- Sewing thread in matching colors
- Tape measure / ruler
- Scissors, pins, tailor's chalk
- Iron, cotton cloth
- printed instructions with schematic drawing
And this is how it's done:
cut out
Cut out two pieces of fabric from the outer fabric, two pieces of fabric from the lining and two pieces of fabric from the fleece line.
Iron on fleece-line
To reinforce the outer fabric is now ironed the insert (Vlieseline) on the fabric.
For this you need an iron and a cotton cloth.
Place the insert with the adhesive-reinforced side on the left side of the outer fabric. Then cover the piece of fabric with the slightly moistened cloth. Now slowly drive with the iron over the cloth and stay anywhere for about 5 seconds.
This is how the outer fabric and the liner merge.
Now just let it cool and then the sewing can begin.
sew
Place one part of the outer fabric and the lining fabric on the right side on the right side and sew them together at the long upper edge with 1 cm close-up access. It can be bordered with a border. Then iron out the seam allowances. Place the two fabric pieces right side together on the right side and sew together on all outer sides (b and c) with 1 cm seam allowance. Make an opening to turn on a long side at half the height of the lining material.
Sew corners
Now the corners are missing! To do this, pull the fabric apart on the side a and then put it on top of each other to create a long side. Sew this side together. Repeat at all four corners. The utensil is now taking shape and only needs to be turned around.
Close turn and turn opening
Grip through the turning hole in the utensil and turn so that the right side of the fabric is on the outside. Then close the turning opening with a few hand stitches.
Click here to download the instructions including cutting patterns.