

Halloween is not just for kids. How about 31 October with a scary party? We deliver the matching deco, which you can tinker easily.

Photo: deco & style
- 7 awesome party decoration ideas for Halloween
- Halloween pumpkins
- Halloween Napkin Ring
- Halloween Candy bar
- Magnifying glasses with a scary look
- Icehand for the punch
- Halloween nameplates
- Halloween Pennant
7 awesome party decoration ideas for Halloween
Halloween pumpkins
That's what you need for the Halloween pumpkins:
Acrylic paint in black, white and orange
- brush
- pencil
- fine brush
- masking tape
- Spray paint in gold (hardware store / craft shop)
And that's how easy it is:
Black pumpkin: prime the pumpkin with black acrylic paint. Let the paint dry. Say carefully with a pencil. Label letters with acrylic paint in orange and a fine brush.
Gold pumpkin: Mask the lower half of the pumpkin with a crepe. Mask off the stem as well. Paint with golden spray paint and let dry. Remove the artist's crepe.
Black and white pumpkin: prime the pumpkin with white acrylic paint. Let dry. Dilute black paint in a glass with a little water and dribble on top of the pumpkin. In doing so, tilt the pumpkin slightly so that the paint runs. Let dry.
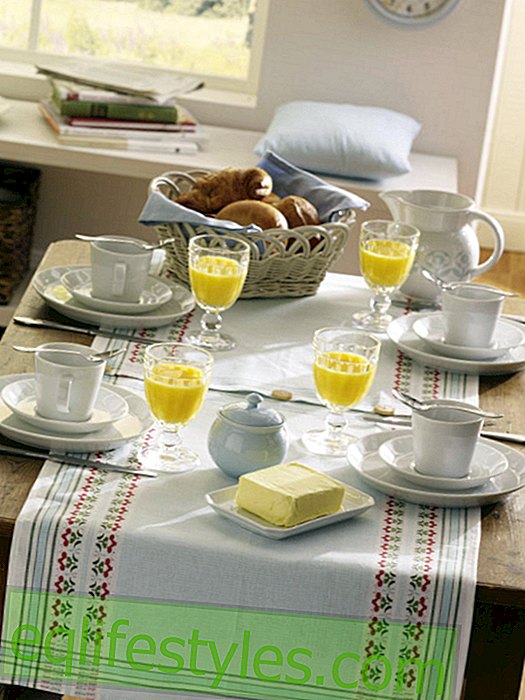
Halloween Napkin Ring

You need this for the table decoration:
- Cloth napkin in red
- Vampire Bite (Costume Shop)
- maybe plasticine
And that's how easy it is:
1. Firmly roll up the napkin and clamp it between the vampire bit (possibly fix with a small amount of plasticine on the plate).
2. Place on the center of the plate.
Props: Plate: Lambert "Kaori"; about 8 € and 14 €, rest: own
Halloween Candy bar

What you need for the candy bar:
- different candy jars
- Computer, printer and paper
- double-sided adhesive tape
- licorice
- scissors
And that's how easy it is:
1. Print out and cut out the label.
2. Stick with double-sided adhesive tape on the candy jars.
3. Fill jars with liquorice.
Proquisite: Large Glass: LSA via desiary.de; 63 €, hand: desiary.de; 80 €, salt shaker: Jonathan Adler about desiary, de; Set of 2 56 €, wallpaper: wallpaper agency.de; "Cordula" € 39.95, rest: own
Also great: Halloween: spice up glasses scary
Magnifying glasses with a scary look

That's what you need for the magnifying glasses:
- Computer and printer
- paper
- magnifiers
- Adhesive strips (eg from tesa)
- scissors
And that's how easy it is:
1. Search images of eyes on the Internet and print in the size of the loupes.
2. Cut out the eye and fasten it to the loupe with adhesive tape from the back.
Icehand for the punch

You need this for the icehand:
- Latex Gloves
- water
- freezer
And that's how easy it is:
1. Fill the water in a latex glove. Tie well and freeze.
2. Let the frozen hand melt for a few minutes, then gently peel off the glove. Do not hold under running water !! The ice will crack otherwise and the fingers could break off.
Props: own
Even more ideas: Halloween Recipes: Scary Beautiful to scare
Halloween nameplates

You need this for the name tags:
- Paper for the template
- Photo carton in black
- Waterproof marker in white
- pencil
- scissors
And that's how easy it is:
1. On a sheet of paper with a pencil, draw out a bat (about 9 x 2.5 cm in size) and cut out.
2. Transfer the bat template to black photo carton and cut it out.
3. Label with a white waterproof marker and put the bat between the prongs of the fork.
Props: Fabric: de.dawanda.com/shop/lalaundfluse; about 8, 50 €, rest: own
Even more inspiration: scary name tags for the Halloween party
Halloween Pennant

You need this for the pennant:
- black fabric of approx. 60 x 70 cm
- Roundwood 0.5 cm in diameter
- Black drawstring
- tape measure
- French chalk
- fabric scissors
- pins
- Sewing machine with matching yarn
And that's how easy it is:
1. Cut black fabric measuring 60 x 70 cm. Measure a point with the set square and mark with a tailor's chalk. Cut the lace.
2. Line all edges except the top with a seam allowance of 1 cm in the lockstitch. At the top of a tunnel of about 1.5 cm for a Rundholzeinnähen.
3. Draw the letters with a tailor's chalk and cut out with a pair of cloth scissors.
4. Push round timber through the tab and attach a cord to hang on the left and right at the ends.
Props: Dresser: Car Furniture; 459 €, hand: desiary.de; 80 €, rest: own