

Photo: deco & style
- For the new Year
- A touch of spring
- To fold down
- Appointment clouds
- Three murals
- Hello, Leporello
For the new Year
Already in the new year do you have many appointments that want to be coordinated? Then these self-designed calendars for 2015 will certainly help you. Here come five DIY ideas.
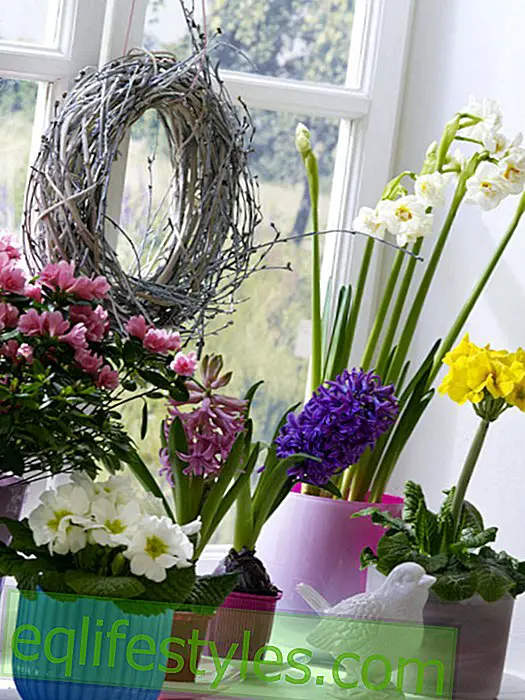
A touch of spring
Picture above: Fancy an absolute freshness kick? The calendar makes this calendar to do it yourself at least optically and we are already in the mood for spring. On small yellow sheets you enter with date and time all your important dates, birthdays and Co.
You need: 1 large plywood board, double-sided adhesive tape (eg from Tesa), 1 piece of wallpaper in suitable size (eg from wallpaper agency), adhesive strips (eg from Tesa), 12 wooden clothes pegs, 12 Mini screws (optional small nails), small cards or notes (stationery), scissors, all-purpose glue
That's how it works:
1. Fix the wallpaper on the front side of the wooden board with double-sided adhesive tape. Lay wallpaper around the edges and secure it on the back with adhesive tape or double-sided adhesive tape.
2. Fix the clothespins in a regular arrangement with small screws on the board.
3. Label small pieces of paper with the respective months and birthdays and attach to the clips.
4. From the wallpaper small shares such. B. florets or ornaments cut and glue with all-glue on some of the staple front pages.
To fold down
A calendar does not just have to consist of numbers and entered dates. How about a saying of the day that accompanies you like a mantra?

What you need: DIN A5 ring binder plain (department store), A4 sheet of construction paper, glue stick (eg Tesa), Soelenschmeichler picture of your choice, colored paper (stationery), motif punch daisies (eg of idea, 3, 99 €), scissors
That's how it works:
1. Open the notebook.
2. Bend the construction paper so that a triangle is created.
3. Coat with glue and glue the outsides of the triangle to the front and back of the book cover.
4. Cut out any pictures, glue them on colored paper and glue them on the sides of the notebook.
5. Use a pattern punch to punch or stick patterns in each page as desired.
Appointment clouds
From now on, we float on clouds every month - all year long! Especially sweet: In addition to the individual monthly cloudlets you can - depending on the season - ice crystals, rain or just a summer sun paint.

You need: wooden board (about 40 x 50 cm), acrylic, wall or paint paint in petrol (DIY store), 12 nails, yellow cardboard, glue stick, white acrylic paint, large brush, computer + printer + white paper, scissors, Pincers, hammer, fine brush
That's how it works:
1. Paint the wooden board in petrol and let paint dry well.
2. Print out the templates, cut them out and punch in a hole in the middle with the hole pliers at the top.
3. Beat the nails into the wooden board and hang the clouds on it.
4. Cut a sun from the yellow cardboard and glue it to the board.
5. Use a fine brush to paint small white snowflakes and raindrops for the appropriate months.
Three murals
We designed this trio ourselves and set up a calendar whose elements can each be folded down.

You need: 50 sheets of white paper (about 14 x 14 cm), black felt-tip pen, 50 colorful cardboard cards (about 15 x 15 cm), glue stick, punching pliers, cord, 3 wall hooks
That's how it works:
1. Label the white papers with the days of the week, months, and numbers from 1 to 31, respectively.
2. Then glue these papers one at a time to the colorful cardboard cards.
3. Punch the cards at the top with the pincers, taking the months, days of the week, and numbers together. Pull a cord through the holes and knot.
4. Attach the wall hooks to the wall according to the wall conditions and hang the sheets.
Hello, Leporello
Like a kind of folding card, this calendar conjures up all dates. The great thing is that it fits well in a handbag.

You need: 2 x solid cardboard box (about 8 x 8 cm), 2 patterned papers (about 16 x 16 cm), glue stick, white photo cardboard (about 49 x 7 cm), ribbon (about 40 cm), Piece of white paper, numbers stamp + inkpad, ruler, scissors, pen
That's how it works:
1. The two pieces of solid cardboard are wrapped in the patterned paper. To do this, glue the cardboard box in the middle of the back of the patterned paper, cut the overhanging corners with the scissors, fold over and glue.
2. Fold the white paper strip into 7 sections of equal size so that 14 surfaces are created.
3. The two outer surfaces are glued between the two embossed square squares. Glue a ribbon at the side to bind to it.
4. Now the individual sections of the white paper are labeled with the calendar.
5. Now stick a piece of paper stamped with the date on the front of the Leporello.
(all pictures: deco & style)