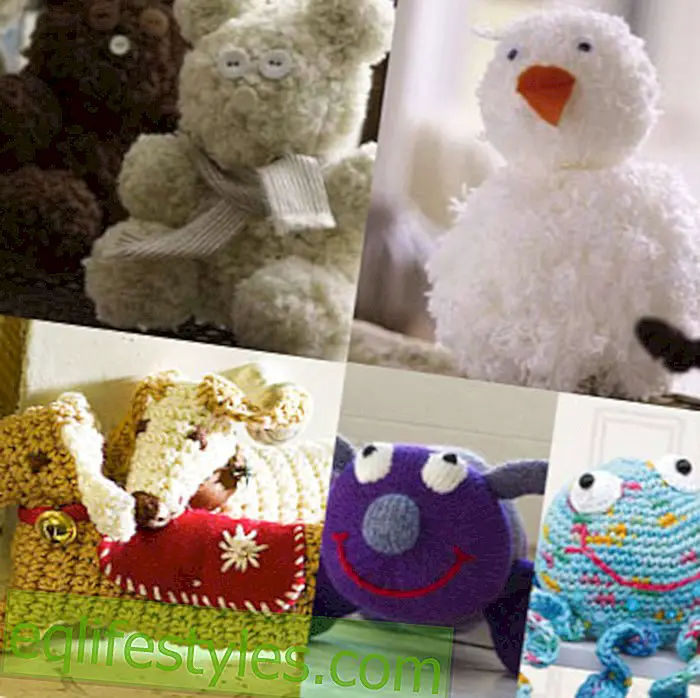


Photo: deco & style
- New look for old hats
- Picture above: Designing the mittens - with little crochet flowers
- Making hats - with felt pads
- Make purses - with ponpoms
New look for old hats
Somehow, the old hat from last year lost its pep - but throw away is out of the question. We style three caps.
If you do not like the hat from last year, we'll simply pimp it up with clever ideas. For this we use three techniques: crocheting, felting and sewing. What feminine hats we could design, you can see here.
Picture above: design caps - with small crocheted flowers
You need: cotton yarn in light pink, cotton yarn in purple, crochet hooks in Gr. 4 and 2, 1 small button, matching yarn, sewing needle with eyelet matching the yarn, 1 hat
That's how it works:
1. The thread comes from the right, is placed over the index finger of the left hand, wrapped around the thumb as a loop and held between the middle and ring finger.
2. Now pierce the crochet hook from the front through the thumb loop and get the thread in front. The resulting loop is the first stitch.
3. Attach an air mesh here. In the resulting "thread ring" now the other stitches of the first round are crocheted.
4. Crochet 12 solid stitches in the thread ring.
5. Tighten the ring.
6. Close the round with a chain stitch.
7. Crochet an air stitch into the warp stitch.
8. In the next fixed stitch: 1 half stick, 2 whole sticks, 1 half stick.
9. Crochet 1 sliver stitch into the next set. Step 8./9. repeat five more times. After the last warp cut off the thread and sew it on.
10. For the second part of the flower (larger petals): Pierce between two petals with the needle and bring out the thread.
11. Crochet four tight loops.
12. Attach this airmesh bow centrally between the next two petals with a slit stitch. Crochet 4 pieces of air into a small bow and fix with a slit stitch between the next two sheets. Repeat this process for all 6 petals. The last Kettmasche this round stab where the first Kettmasche was crocheted.
13. After the last warp cut off the thread and sew on.
14. Lay the flowers over each other and sew them on with the button on the hat.
Design caps - with felt flowers

You need: thin craft felt in pink, cream and gray (de witte angel), 1 beret in beige, brush pad for dry felting (craft shop, Rayher, article number 5322900, 8, 99 €), felting pin fine (craft shop, Rayher, item no: 5322800 ; 7pcs / 4, 99 €), felt needle handle (craft shop, Rayher, item no: 5362300, 1, 99 €), pen, scissors
That's how it works:
1. Cut flower template and transfer to the felt. Cut out flowers.
2. Place the cap on the brush pad at the appropriate place with the inside (the outside of the cap is on top).
3. Place the flowers and fix them on the cap by frequent up and down movements with the felting needle.
Design caps - with ponpoms

What you need: Pompon set (eg from Prym, handicraft shop / haberdashery), wool in blue / white mottled, scarf and hat, sequins, scissors, needle and thread (in matching color)
That's how it works:
1. For the pompoms, wrap 2 semicircles of the pompon stencil with wool as per the package instructions.
2. Put the two halves together and cut the wool sideways with scissors.
3. Pass a wool thread between the template sides and knit tightly together in the middle, so that the wool comes up to the pompon. Leave thread long.
4. Remove the pieces of pompom board and, if necessary, use a pair of scissors to polish the wool ball, ie cut the threads the same length.
5. Pull the protruding thread through the needle and sew the pompon at the desired place on the scarf and hat and tie a loop.
6. Embroider with the wool a zig-zag pattern in the scarf and the cap.
7. Sew sequins into the interstices.
(all pictures: deco & style)