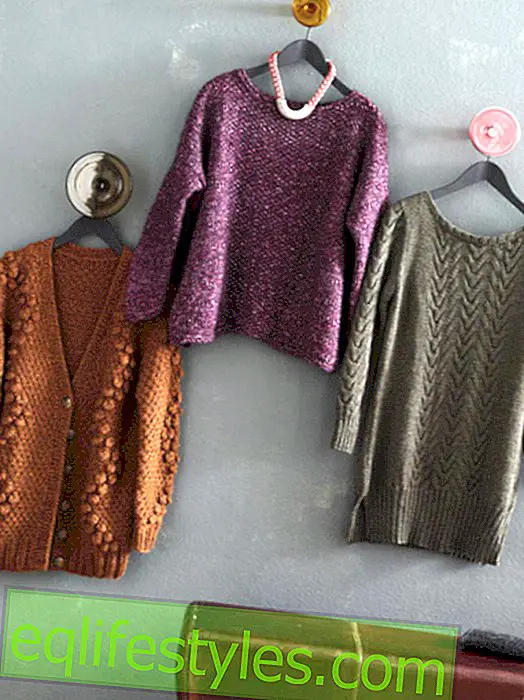

With little effort and without tools to make thick wool strands? Here we show you how to knit big stitches!

Photo: Naumann & Göbel
Knitting without needles? With the finger or arm knitting technique this dream becomes possible! We'll tell you here how the technique works.
That's how it works:
BASIC GUIDE 1. FINGERSTRICK TECHNOLOGY
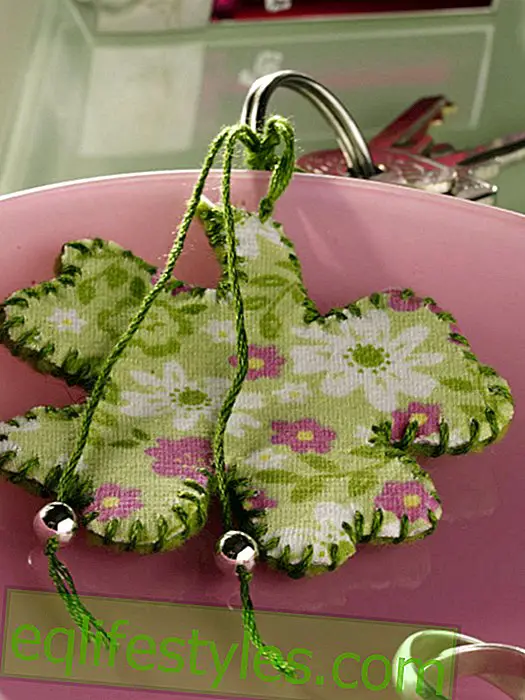
With the finger-knit technique thick wool strands can be made with little effort and without tools. These strands can then be braided, laced or otherwise processed into fashionable accessories such as belts or headbands. For stylish, voluminous home accessories, these strands can also be used for knitting with arm knitting technique.
The size, length and volume of the knitted strands can be controlled in several ways. Firstly, the wool to be processed can be knitted in one, two, three or more times. On the other hand, the mesh size can be varied by knitting the skein over two, three or four fingers. In this basic instruction is knitted over all 4 fingers, so with 4 stitches. The thumb is always free.
1. If the wool is entangled two-thread, three-thread or multi-thread, it is advisable to first wrap a corresponding ball of a corresponding number of threads in sufficient length. In doing so, connect the twine ends within a knot with a firm weaver knot.
2. Right-handed people pick up the stitches on the left hand, left-handers on the right hand. To make stitches, first knot an opening loop and hang over your thumb. The palm of your hand points up. Starting at the index finger, thread the thread around the four fingers of the hand, placing the thread over the back of the index finger first, then running it over the middle finger at the top, threading it over the back of the ring finger and finally from front to back around the small finger Put your finger around. According to the pattern, return the thread in the direction of the thumb, ie, continue the thread in opposite directions beginning at the ring finger. So over the ring finger, behind the middle finger and again over the index finger along. The thread now points towards the thumb. The basic stitches are laid. Now thread the thread around the back of the hand and again forward to the palm so that it lies on the fingers above the basic stitches and is held with your thumb and forefinger.
3. Begin knitting at the little finger. The palm looks up. Pull the basic stitch with the right hand over the working thread and then over the little finger. The work thread remains as a loop on the finger and now forms the next stitch. Next, pull the ground stitch over the ring finger and then knit the stitch of each finger once. Slight curvature of the fingers makes working easier.
4. There is now one stitch on each finger. Tighten the work thread a little bit and put it back around the back of the hand. The thread runs above the basic stitches and is held with the thumb and forefinger. The basic position for the next row is taken. Now starting from the little finger one stitch after the other can be knitted again, as described in pos.
Click here to download the complete manual.
BASIC GUIDE 2. ARMSTRICK TECHNOLOGY
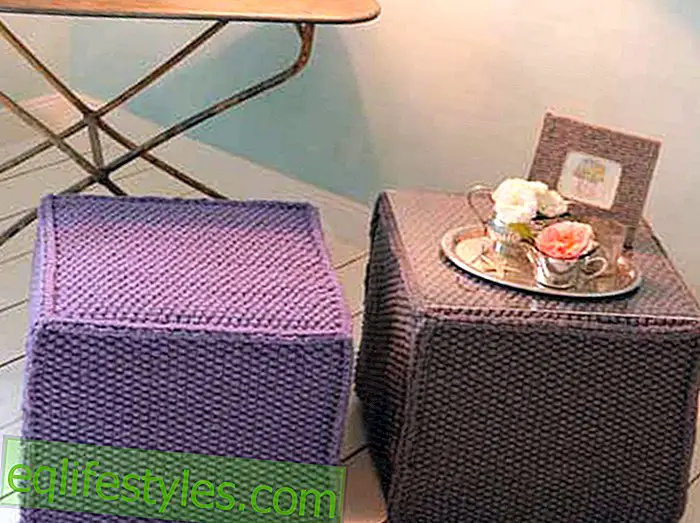
With the arm-knit method thick yarns can be processed into decorative accessories with the help of their own arms. The arms form oversized knitting needles!
1. Lay the yarn so that the twine ends on the right and the twine on the left. The working thread leads from right to left. 10 cm from the end of the yarn make a loop with the working thread at the bottom. Pass the right hand through the loop from below and pull the working thread through the loop with your thumb and forefinger. It forms a knot. Put the loop around the right wrist, but do not over tighten (= 1st stop stitch).
2. Repeat the process for the 2nd stop stitch. Make a loop again with the working thread down. Grasp the loop from the bottom with your right hand and put the work thread through the loop over the wrist. The stop stitches should be next to each other and tightened evenly. Repeat until the desired mesh size is reached.
3. The work is not turned, you work from the right hand to the left hand and vice versa. The stitches are knit smooth right. Work the 1st row as follows: Grasp the working thread with your right hand. Using your left hand, pass the next stitch (last knitted stitch) over the back of your hand, sliding the thread as a loop on your left hand. Align this 1st stitch of the 2nd row on the left wrist and tighten slightly. For the second stitch, grasp the working thread again with your right hand, with your left hand, guide the next stitch over the right back of the hand and place the thread as a loop around your left wrist. Tighten the mesh evenly. Repeat until all stitches are on the left arm.
4. In the 3rd row, make all the stitches from the left to the right arm. To do this, hold the working thread with your left hand, with your right hand guide the next stitch (= last stitch of the previous row) over the back of your left hand, placing the thread as a loop over your right hand. Repeat until the row is finished.
5. Knit the desired number of rows in this way. Then bind off all stitches. The stitches can be on the right as well as on the left hand. To bind off the first stitch and the second stitch knit. Then lift the first stitch over the last knitted stitch, drop the stitch and put on the working thread. Repeat until there is another stitch on the wrist. Cut the work thread after 20 cm and pass through the last stitch, and tighten the last stitch. Sew work thread on the back.