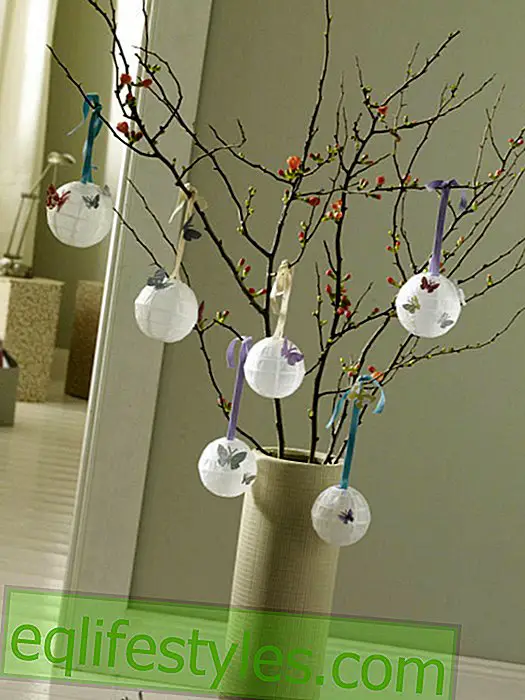

Photo: deco & style
With a personal touch
Holiday photos or unusual patterns - thanks to computers and laser printers, we can now make our own personal bags, puzzles and memories.
What you need for the printed bag:
- Computer, laser printer and paper
- Blanco bag made of cotton (eg from idea, 3, 29 Euro)
- absorbent smooth surface (eg cardboard)
- masking tape
- Lavender oil (from the drugstore, eg DM, about 2 euros)
- Printed motif with the laser printer or as color copy from the copy shop
- Iron
- scissors
- small vessel for oil
- bristle brush
- baking paper
And that's how easy it is:
1. To prepare, print or copy the design according to the size of the bag and iron the bag.
2. Slide the pad into the bag. Place the motif right on the right side of the bag and fix it with the painter's crepe.
3. Pick up lavender oil with the brush and spread on the paper.
4. When the paper gets soaked, be careful not to create "puddles".
5. Using the back of the brush, rub vigorously and persistently over the subject until the subject transfers to the fabric but no cracks appear in the paper.
6. Carefully remove the paper from the fabric and check if the motif has already transferred. Otherwise redeem at the relevant places and rub over it.
7. Hang the bag to dry. Then iron to fix the pressure at the hottest stage. Between ironing board and fabric, as well as between fabric and iron baking paper to protect against possible oil residues.
Tips:
1. The subject can only be transferred with the lavender printing process if it has been printed with a laser printer - inkjet printing does not work. Alternatively, the motif can also be copied in color in the copy shop.
2. Textiles printed with the lavender printing process can also be washed to 30¡C.
Props: Carpet: ferm Living, Blue Sticks, 42 €, www.das-tropenhaus.de

What you need for the storage box:
- Computer and inkjet printer
- Ceramic foil Avery Zweckform My Design for Inkjet (eg from Saturn, about 10 € for 2 sheets in DIN A4)
- Ceramic storage box (eg from Depot, 14.99 €)
- scissors
- Iron
- baking paper
- Small bowl of lukewarm water
- soft cloth
And that's how easy it is:
1. It is best to scan the desired subject, then print the subject on the coated side of the transfer ribbon with the inkjet printer. It is important that the motive is printed mirror-inverted, so that later it can be seen in the right direction.
2. Cut out the printed motif roughly.
3. Now the transfer foil is connected to the carrier foil. For this purpose, the carrier film is cut to exactly match the printed carrier film.
4. Place the printed side of the transfer ribbon on the coated, glossy side of the carrier foil.
5. Iron with the iron over the foils. Tip: Switch off steam function of the iron and cover the film with baking paper.
6. Press the iron on the slides for about four seconds without moving it.
7. Turn the slides over and press the iron again for four seconds.
8. Allow the slides to cool and cut out the motif exactly.
9. Put the foil in lukewarm water for about a minute. As a result, the motif separates from the film and can be placed on the desired location. The can should be dry and clean for this.
10. Wipe off with a soft cloth the remaining moisture, then dry the motif for at least one hour.
11. Burn the ceramic tin at 175 degrees for about half an hour on a medium rail in the oven. To cool it can stay in the oven.
12. If it is taken out anyway, it should not be placed on cold metal plates, as otherwise stress cracks could occur.
13. According to the manufacturer, the plate with the motif is dishwasher safe. To be on the safe side, you should rather rinse the plate by hand.

That's what you need for the puzzle:
- Square timber 200 cm length, 4 cm thickness
- possibly fine sandpaper
- desired photo motive (print out in the copy shop)
- Adhesive tape (eg from tesa)
- Gel medium (eg of idea, about 9 €)
- scissors
- brush
- sponge
- cutter
- ruler
And that's how easy it is:
1. Squaring the square timber in the hardware store in 4 x 4 cm cubes. If necessary, smooth edges with sandpaper.
2. Print any photo in the Copy Shop with the laser printer to DIN A4 size.
3. Cut out the motif so that it measures at least 16 x 16 cm.
4. Put the 16 cubes into a square and fix them around with tape, so that a coherent square is created.
5. Coat the printed side of the copy thick with the gel medium.
6. Now stick the motif with the coated side on the square, being careful not to create any bubbles. Allow to work overnight.
7. Carefully rub over the paper with a sponge and warm water until the paper has peeled off and the motif becomes visible.
8. Then cut the individual "puzzle pieces" with a cutter and ruler.
Info: The subject dissolves with gel medium only when it has been printed on a laser printer.

You need this for the memory:
- Copies of photos (printed on laser printer)
- Gel medium (eg of idea, about 9 €)
- small squares of wood (eg craft wood of idea)
- fine sandpaper
- scissors
- brush
- sponge
And that's how easy it is:
1. Print out photos in the copy shop with the laser printer (2 printouts per memory for the photo subject). Cut out desired motifs.
2. Make craft wood in the desired number of squares (about 6 x 6 cm) sawed (hardware store).
3. Coat the printed side of the copy thick with the gel medium. Now stick the motif with the coated side on the desired place of the square. Make sure that no bubbles occur and press the paper firmly. Let it dry overnight.
4. Carefully rub the paper with a sponge and warm water until the paper peels off and the motif becomes visible. Unevenness and adhesive residues can still be removed with fine sandpaper.
Info: The subject can only be transferred with gel medium if it has been printed on a laser printer. The memory game usually consists of 24 subjects. However, less can be used.