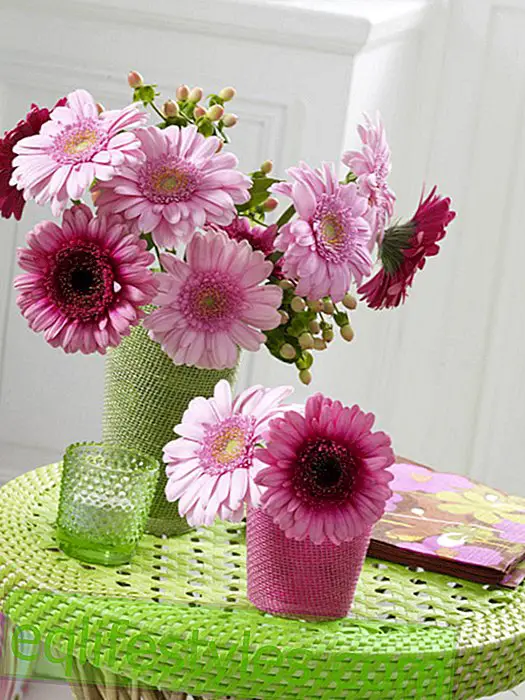

These pretty breadbaskets are not only pretty for your own summer table, you can give them away as well. Click here for instructions.

Photo: deco & style
What you need for the bread baskets:
- 1 piece of cloth à 65 x 30 cm for the larger bag
- 1 piece of fabric à 45 x 25 cm for the smaller bag
- Schrägband
- Stoffmalstift (white, Javana Texi Mäx Opaque, 2.99 €, www.idee-shop.com)
- Paper, yellow
- Pen, black
- Letter clamp (office supplies)
- tape measure
- fabric scissors
- pins
- Sewing machine and matching yarn
- paper scissors
And that's how easy it is:
- Turn the narrow edges twice over to the left side of the fabric, approx. 1 cm wide, pin with pins and then sew on so that the upper edge is serged.
- Fold the piece of fabric center-right on the right side, creating a rectangle of 30 cm width and 32.5 cm height.
- Border the side seams with bias tape and fix with pins. Stitch seams.
- Place the bag on the lower edge of the seam, unfold the corners. Now stick out the corners 7 cm wide (like a milk carton) and stitch.
- Turn the bag so that the seams are inside and roll out the edge.
- Do the same with the smaller piece of fabric.
- Draw a leaf pattern on each side of the bag with the fabric crayon. Observe manufacturer's instructions.
- Cut paper strips, approx. 11 x 2 cm, and label with the desired word.
- Bend paper strip at an angle over the edge of the fabric bag and secure with the clamp