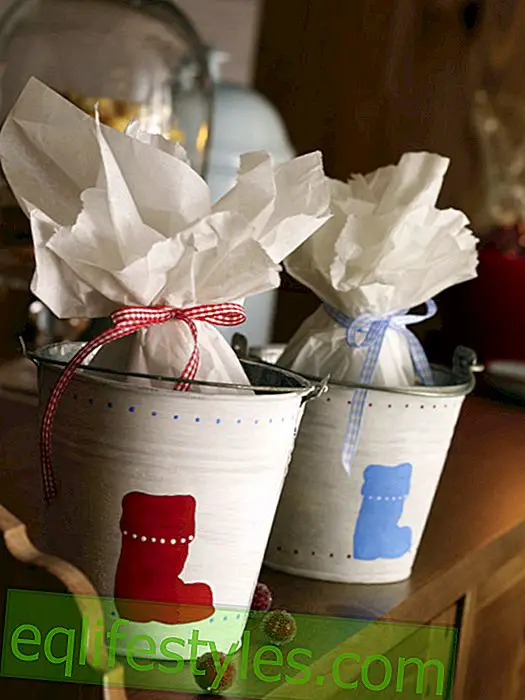
Photo: deco & style
With step-by-step instructions
On the 6th of December is Nikolaus and your loved ones are not only happy about plenty of chocolate but also about a self-made Santa Claus boot. Here are the instructions.
You need this for the Nicholas boots:
- Tailor's chalk (department store)
- Linen fabric in gray and white (department store)
- silk ribbon
- webband
- 5 ornamental stones with hole (eg of idea)
- 1 decoration bell (eg from idea)
- fabric scissors
- pins
- Sewing machine and matching sewing thread
It's that easy:
Instructions for the middle boot:
1. Print the template and copy it larger if you like. Cut out template.
2. Transfer template twice with a tailor's chalk to the fabric and cut out.
3. Place the cut-out boots right side on right, fix with pins and sew everything together except for the boot opening.
4. Turn the upper fabric edge approx. 1.5 cm to the left side of the fabric, fix with needles. Stick two equal strips of the woven band (for later suspension) to the rear seam edge (the calf side). Likewise, 5 different length pieces of silk ribbon are placed at intervals of about 1 cm to the newly folded shaft. Now sew along the entire opening.
5. Turn the fabric to the right and fold the tapes outwards. Pin a piece of woven ribbon to the top edge as a beautiful finish and sew on both edges.
6. Draw the ornamental stones and the bell on the silk ribbons, knot them in different lengths and cut off the leftovers.
Left boot:
Here, the shaft was extended with white fabric. Flip white outwards. The bands are sewn between white and gray fabric.
Right boot:
Here only the suspension was sewn. The beads are embroidered on the boot leg. Finally band a band around.


